Putting the “Medical ID” Feature on Android Phones
For most people -- especially youth and young adults -- a smartphone is everything. It’s a way to
talk, text, take photos, play games, listen to music, read the news, and more. Android phones
usually don’t have built-in health apps that allow you to create a Medical ID. But people with
Android phones can still create Medical IDs that anyone can see from the lock screen without
unlocking the phone. There are free apps you can download that can create a Medical ID. This
guide describes how to make a Medical ID using the free Medical ID (Free) ICE Contacts app.
It is easy to set up and can be accessed by anyone in the event of an emergency.
SETTING UP YOUR MEDICAL ID
1. First, download the app. Go to the app store and
download Medical ID (Free) ICE
1
Contacts.
2. Open the app. You will need to accept the app’s
Terms of Service and Privacy Policy.
3. You will then be shown a series of prompts. You
will be asked to allow Medical ID to access your
device’s location and to make and manage phone
calls. This is so you can be found in case of
emergency, you can find nearby hospitals, and your
emergency contacts can be called through this app.
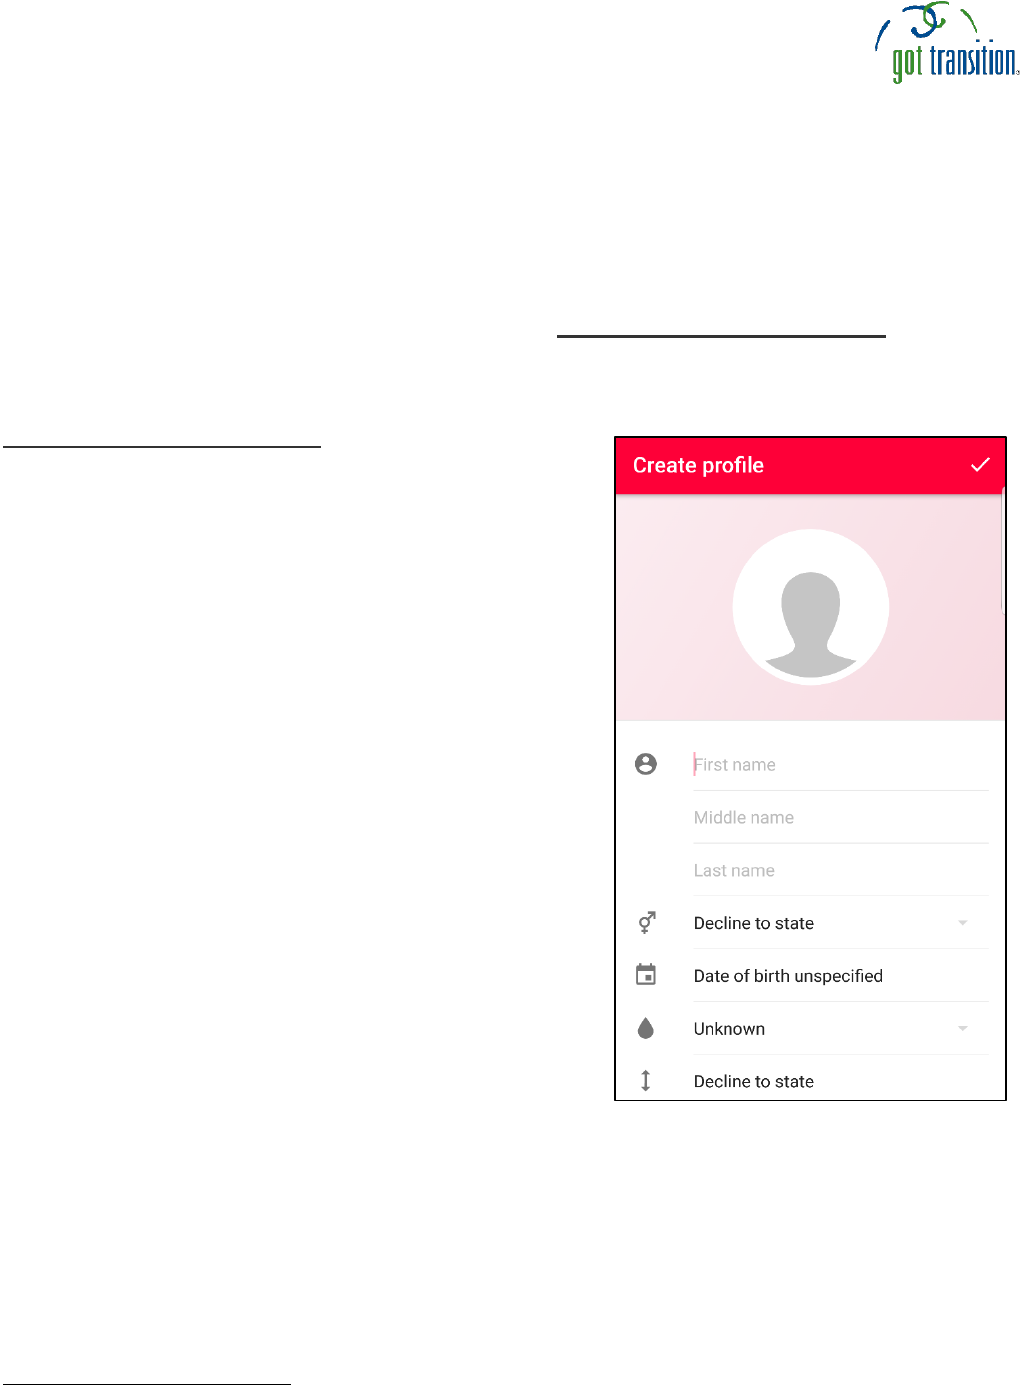
4. After completing the prompts, it’s time to create a
profile. You can add your name, photo, and all the
information you would want others to know about
your health. This includes your blood type, height,
weight, if you are an organ donor, medical
conditions, allergies & reactions, medications, and
medical notes.
5. *Important* To enter your emergency contact’s
information, go to the medical notes section. Here
the app will ask for permission to access your
contacts. Next, when you enter your emergency
contact’s name in your medical notes, the app will
find their contact information.
6. Tap the check mark in the upper right corner to
finish your profile!
7. Once you tap the check mark, you’ll be on a screen
called Profiles. Tap on the three dots in the upper
right corner to look at your Settings.
1
ICE stands for In Case of Emergency

8. In your Settings, tap on “Lock screen.” (See
example on the left.) The first line is an option
to turn Lock screen on. It’s important to do
this so your info can be viewed in case of an
emergency. Next, there are three different
options for displaying your Medical ID.
Choose the one that you prefer.
9. Once the Lock screen has been turned on and
you have chosen how you would like it to
display, there is another series of prompts to
allow the app to add a Medical ID
banner/icon/widget on your lock screen.
(NOTE: This allows emergency workers to see
at a glance that you have the Medical ID
information available.)
10. Now it’s time to test out the Medical ID
program. Lock your phone and navigate to your
passcode screen to see what Medical
Professionals will be able to see in an
emergency. (Note: if you use your fingerprint
ID, it will bypass the passcode section.)
The image below and on the left is what the Medical ID icon looks like when your phone is locked.
To see your Medical ID (right), tap twice on the red icon at the top.
