Page: 1 / 5
• Working spacious area, preferably on a carpet, near
the place the unit will be located.
• Do not use power tools to assemble your furniture.
Power tools may strip or damage the parts.
Call us at: 1-800-538-1489 V
i
sit our website: www.pjparawood.com
• Make sure all parts are included. All parts are
labeled and stamped on the raw edge.
THIS INSTRUCTION BOOKLET CONTAIN IMPORTANT
SAFETY INFORMATION. PLEASE READ IT CARFULLY
AND KEEP FOR FUTURE REFERENCE.
Recommended no. of people needed for assembly : 1
LIMITED WARRANTY
PJ Chonburi Parawood Co., Ltd. warrants its product to be free from defects in material and workmanship and agrees to remedy
any such defect. This warranty covers 1 year from the date of original purchase. This warranty is valid only upon presentation of
pr
oof of purchase. This is solely limited to the repair or replacement of defective furniture components and no assembly labor is
included. This warranty does not apply to any product which has been improperly assembled, subjected to misuse or abuse or
which has been altered or repaired in any way. This warranty gives you specific legal rights and you may have other rights
which vary from State to State.
Before Starting:
• Read each section carefully before starting. It is
very important that each step is performed in the
cor
rect order. If these steps are not followed in
sequence, assembly difficulties will occur.
If a part is missing or damaged, call our toll-free
customer service line. We will gladly ship your
replacement parts FREE of charge.
Need parts or assistance?
1-800-538-1489
Manufactured by:
PJ Chonburi Parawood, Co., Ltd.
Ph
ysical address / Zip code:
928/1 Moo 1, T.Klong-kew, A. Bangbung,
Chonburi, 20220, Thailand
Contact number:
1-800-538-1489 / sales@pjparawood.co m
drop us an e-mail
sales@pjparawood.com
For prompt, reliable service, please have your
manual ready.
Date of purchase:
/
/
Y
Z8-16-079-44
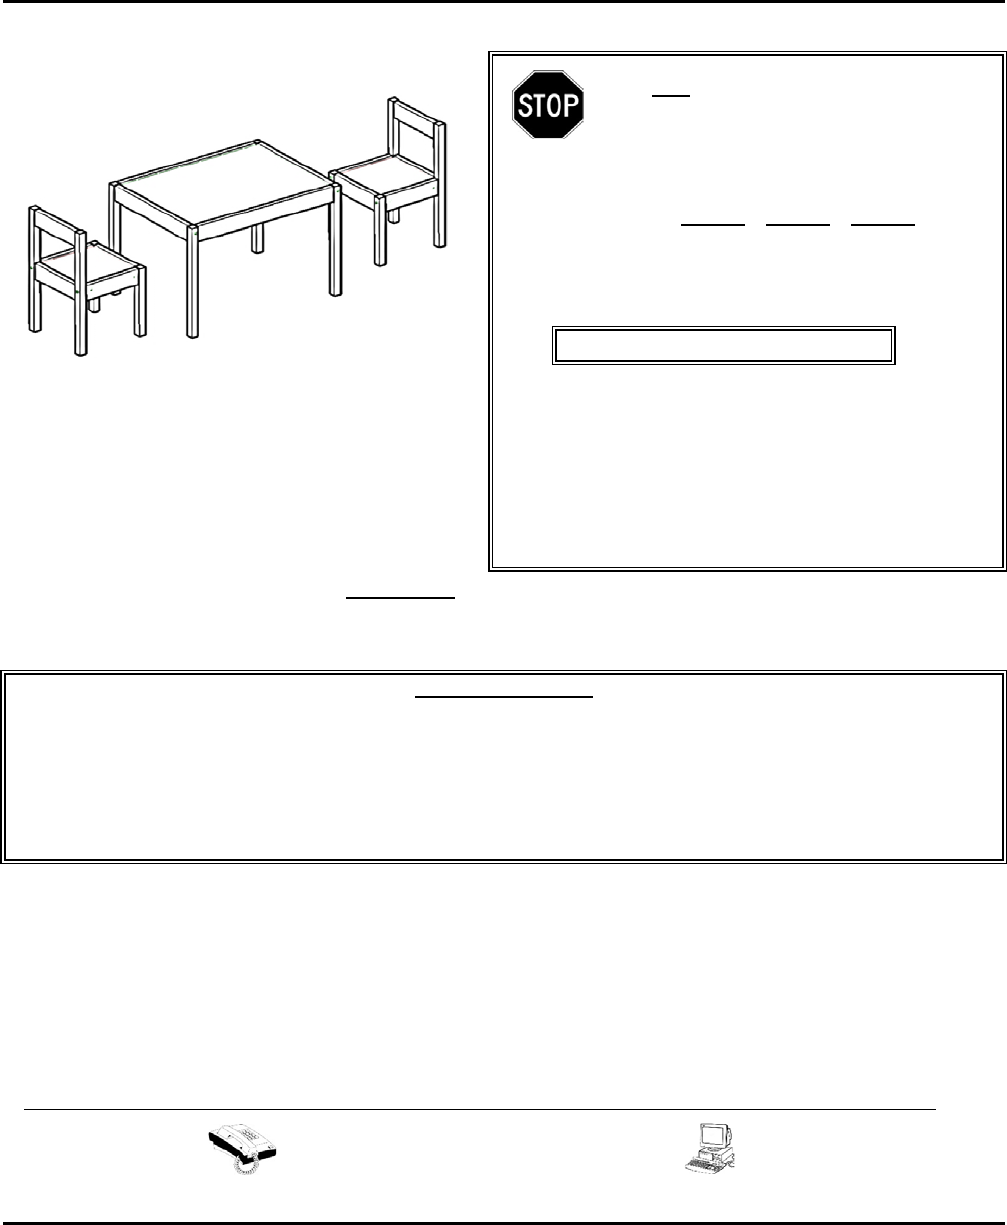
Product Description:
3 PC KID TABLE AND CHAIR
DO NOT RETURN TO THE STORE
Individual stores do not stock parts.
Lot number:

Page: 2 / 5
• Clean the product with your choice of furniture polish
and a soft cloth. DO NOT USE harsh chemicals or
abrasive cleaners.
• Back panel provide stability and support. Unit may
collapse without back panel installed.
3
x12
4
x1
1 x
12 2 x12
Ø8 x 30mm M4 x 70mm
H x12
HARDWARE LIST:
M6 x 65mm Ø10 x 13mm
E 2 F 2 G 4
D 2
Chair Front Frame
Seat Panel Chair Rail Felt
A 2 B 1 C 2
PART LIST:
Table Leg Top Panel Table Rail
Chair Back Frame
HELPFUL HINTS:
• Identify, sort and count the parts before beginning
assembly.
• Compression dowels should be tapped in with a
rubber mallet.
• Move your new furniture carefully. Never push, drag or
scoot your furniture (especially on a carpet).
• Slides have a lip on the right only.

Page: 3 / 5
Step 3
Insert top panel [B] between grooves of
rails [C]
Ø10 x 13mm
2 x2
M4 x 70mm
4 x1
Step 2
Attach table rail [C] to table leg frame [A]
by using nuts [2] & bolt [1] with allen
wrench [4].
M6 x 65mm
1 x2
Step 1
Insert wood dowel [3] to two sides of table
rail [C]
Ø8 x 30mm
3 4
Assembly:
B
C
3
3
2
2
1
1
4
A
C
C
x 2

Page: 4 / 5
2 X2
Step 6
Attach chair rails [G] to chair back frame [D] by
using nuts [2] & bolt [1] with allen wrench [4].
M6 x 65mm
1 x2
Ø10 x 13mm
Insert wood dowel [3] to two sides of chair rail
[G]
Ø8 x 30mm
3 4
4 x1
Table is finished.
Step 5
1 x2
Ø10 x 13mm
2 x2
M4 x 70mm
Step 4
Repeat step 2 to attach another table leg
frame [A] to rails [C] and felt [H] to legs.
Felt
H x4
M6 x 65mm
2
2
1
1
A
4
x 2
G
3
3
2
2
1
1
G
4
G
H
H
H
H
D

Page: 5 / 5
Felt
H x4
Ø10 x 13mm
2 x2
Step 9
Repeat step 5 to step 8 to assemble
another chair, then put the whole set as
below.
WARNING
Please make sure that all the objects are removed
before moving the assembled unit. The unit must
be lifted by more than one person, not dragged or
pus
hed. Failure to do will cause product damage,
instability, product collapse, and/or serious injury.
Weight Limits:
This unit has been designed to support the
maximum loads shown. Exceeding these load
limits could cause sagging, instability, product
c
ollapse, and/or serious injury.
Chair is finished.
M6 x 65mm
1 x2
Step 7
Insert seat panel [F] between grooves of chair
rails [G]
Step 8
Repeat step 6 to attach another chair front
frame [E] to rails [G] and felt [H] to legs.
F
2
2
1
1
4
E
50 lbs.
22.7 kg
50 lbs.
22.7 kg
40 lbs.
18.2 kg
H
H
H
H
